Javascript Pixel Integration via GTM
Deploying the ClearSense Tag: A Step-by-Step Guide
The ClearSense On-Site Tag can be deployed using two methods: Direct Deployment and Deployment via Google Tag Manager (GTM). Follow the detailed instructions below to ensure seamless integration.
Direct Deployment
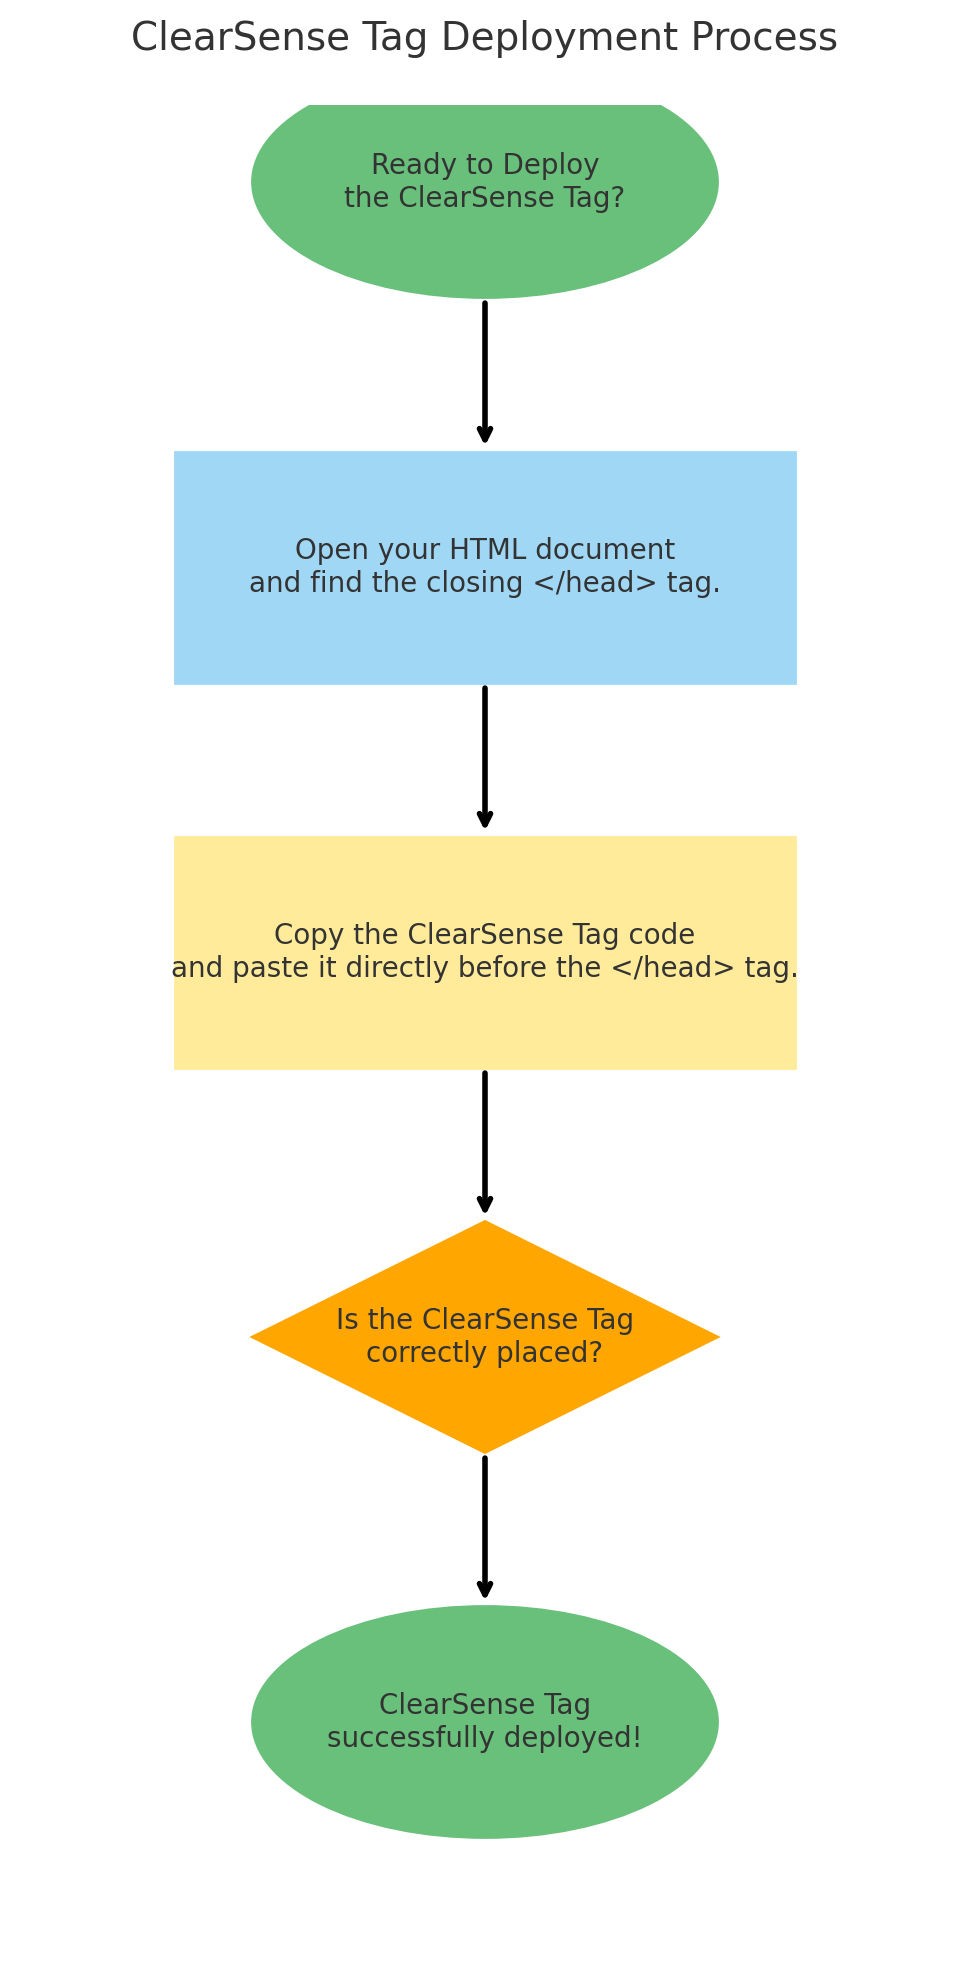
To deploy the ClearSense Tag directly, insert the provided tag immediately before the closing </head> tag in your HTML document. This ensures the tag is correctly integrated within the webpage's head section. For instance:
<!DOCTYPE html>
<html lang="en">
<head>
    <meta charset="UTF-8">
    <meta name="viewport" content="width=device-width, initial-scale=1.0">
    <title>Example Page</title>
    <!-- Insert the ClearSense Tag here -->
</head>
<body>
    <!-- Page content goes here -->
</body>
</html>
Deployment via Google Tag Manager (GTM)
If deploying via GTM, follow these steps:
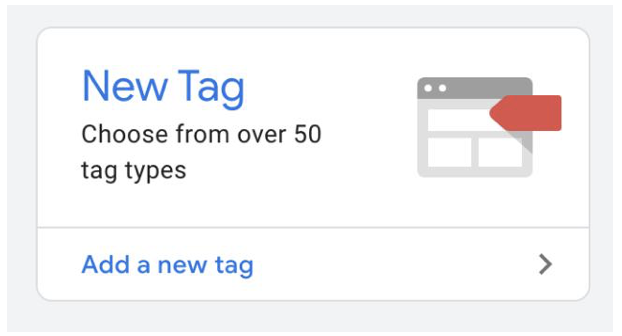
Step 1: Add a New Tag
- Navigate to your GTM workspace.
- Click "Add a New Tag."
Step 2: Name the Tag
- Assign a title to the tag (e.g., "ClearSense Tag") for easy identification.
Step 3: Configure the Tag
- Click the pencil icon under Tag Configuration.
- Select Custom HTML.
Step 4: Insert the ClearSense Tag
- Copy the ClearSense Tag provided and paste it into the HTML field.
Step 5: Add a Trigger
- Scroll to the Triggering section and click it to open the dialog box.
Step 6: Choose a Trigger
- Select All Pages as the trigger.
Step 7: Save the Tag
- Click the Save button in the top-right corner to save your configuration.
Step 8: Publish the Tag
- Publish your changes by clicking the Submit button in the GTM dashboard.
Step 9: Implement the GTM Tag
- Copy the GTM Tag (e.g.,
GTM-XXXXXXXXX) provided in the GTM workspace. - Paste this tag into your website as per the instructions.

If the GTM tag is already implemented, simply publishing the ClearSense Tag in GTM will complete the deployment.
Following these instructions will ensure the ClearSense Tag is deployed effectively.
Related Articles
Javascript Pixel Integration with DV360
Introduction This guide provides a step-by-step process for adding an HTML tracking tag to a creative in DV360 (Display & Video 360). By following these instructions, you can ensure the tracking tag is correctly inserted using a <script> tag with the ...Javsascript Pixel Integration on Lander
Introduction SafePixel is a cutting-edge, lightweight JavaScript-based solution designed to monitor and block invalid traffic directly at the user's browser level. This tool enables real-time traffic analysis and validation, offering a proactive ...Javascript Pixel Integration with DFP
ClearTrust DFP (GAM) Integration Guide This guide outlines the steps to integrate ClearTrust with Google Ad Manager (GAM) by creating and configuring a 1x1 ad unit, sponsorship line item, and third-party creative. Step 1: Create a 1x1 Ad Unit Log in ...API Integration with Prebid.js (GAM)
Introduction Integrating an API with a Prebid.js setup in a GAM environment can enhance functionalities such as fraud detection, analytics, or performance tracking. Below is a professional and engaging step-by-step guide to ensure seamless ...Postback Integration
Introduction ClearTrust’s Postback functionality empowers businesses to act decisively and swiftly by sending real-time notifications (callbacks) whenever critical events occur, such as fraudulent traffic detection or conversions. This innovative ...